We’ve all been there; dog-eared a corner, or hastily crammed a train ticket between the pages of our latest read. Perhaps you’ve pulled a book from the bottom of your bag, only to discover that the bookmark has fallen out amongst the clutter. With this easy DIY, using one of our magnetic sheets and supplies from around the home, you can make a bookmark guaranteed to keep your place, in the time it takes to turn a page!
All you need to complete this easy DIY project is:

On a computer, select the image or design you would like to use for the bookmark. Open the image in a word document or design program. For large bookmarks, the width should be 4cm, and the length 15cm. If making a smaller design, use the dimensions 2.5cm x 10cm (please note that if you opt for our pre-made bookmark magnets, they will need to be placed vertically on the smaller design as they are 3.5cm x 2cm in dimension).
Once printed the bookmarks will be folded in half, so bear this in mind when creating your design.
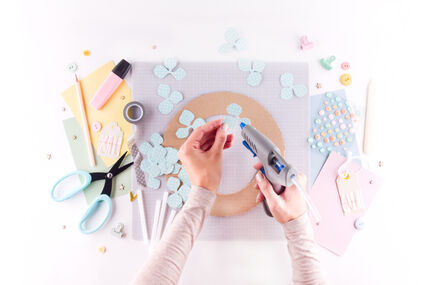
Top Tip: Why not get the kids involved by forgoing the computer and using pens, pencils or even paint? Not only will this unleash their creativity, but personalised pictures turn these bookmarks into great gifts! What a fun way to earn a star on their reward charts.
If using a computer to design the bookmark, print onto card or gloss finish paper. If drawing your own image, why not cover the whole piece of card in the design? That way, multiple bookmarks can be made when it comes to assembly.
Using scissors, cut out the designs. This can be around the printed image, or by using the 4x15cm/2.5x10cm dimensions.
If you have purchased our magnetic bookmarks, you are welcome to skip this step and head straight to step 4.
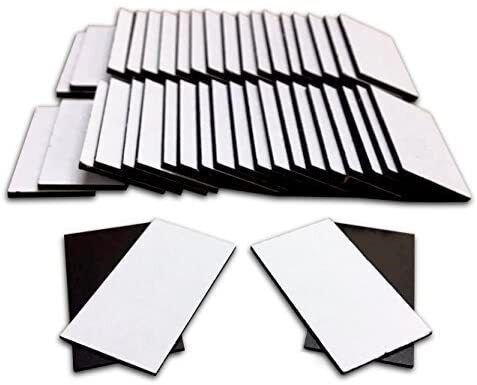
If you will be using our magnetic sheets to make bookmarks of varying sizes and shapes, then we recommend either buying two sheets or cutting the one sheet in half down the middle. Following this, you can place the two magnetic sheets or parts together to form a clasp and to ensure that the two parts will align together perfectly.
Once you are happy with the placement, you can cut the magnetic sheets to the required size by using your prepared bookmarks as templates.
As soon as you have the strips of magnetic sheet that are the same size as your paper design, you are ready to begin assembling your bookmark.
Now that you have the components ready (card with the design and the magnetic strips or bookmark magnets) all that is needed is to fit everything together.
Using the strips:
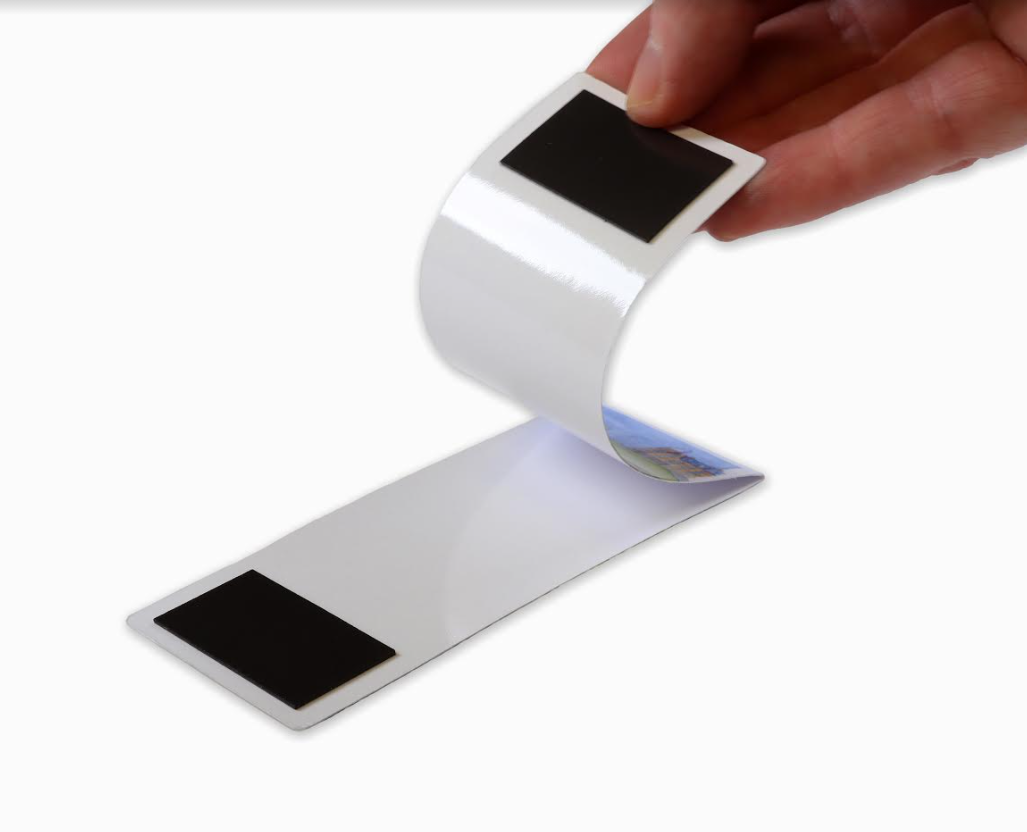
Peel away the protective layer from the back of one of the magnetic halves so that the adhesive side is exposed. Line it up with the back of the bookmark, so that the design is facing out, and stick to the magnetic sheet to the card. Repeat with the other magnetic half.
Using the bookmark magnets:
Aim to place the bookmark magnets towards the bottom of the bookmark, i.e. on the opposite end of the bookmark fold that you have made with the card. Once you have an idea of where you want the bookmark magnets to be, peel away the protective layer from the back of one of the magnetic halves so that the adhesive side is exposed and place the magnet in your desired location.
Take the other half of your bookmark magnetic pairs and place it on top of the first half that you have already stuck into place. When you are happy that the two magnets are aligned, you can peel the other protective layer from the back of the second magnet and fold the card down onto the exposed adhesive and press firmly.
The card with the design should now have two magnetic halves stuck to the back.
And there you have it. A quick and easy DIY magnetic bookmark that you are sure never to lose! Perfect for a rainy afternoon, crafting with the kids or making as mini gifts. What will you be inspired to make next?